Tag: gsn

Adapting a Yashica GSN 45mm f/1.7 lens for the Sony E Mount

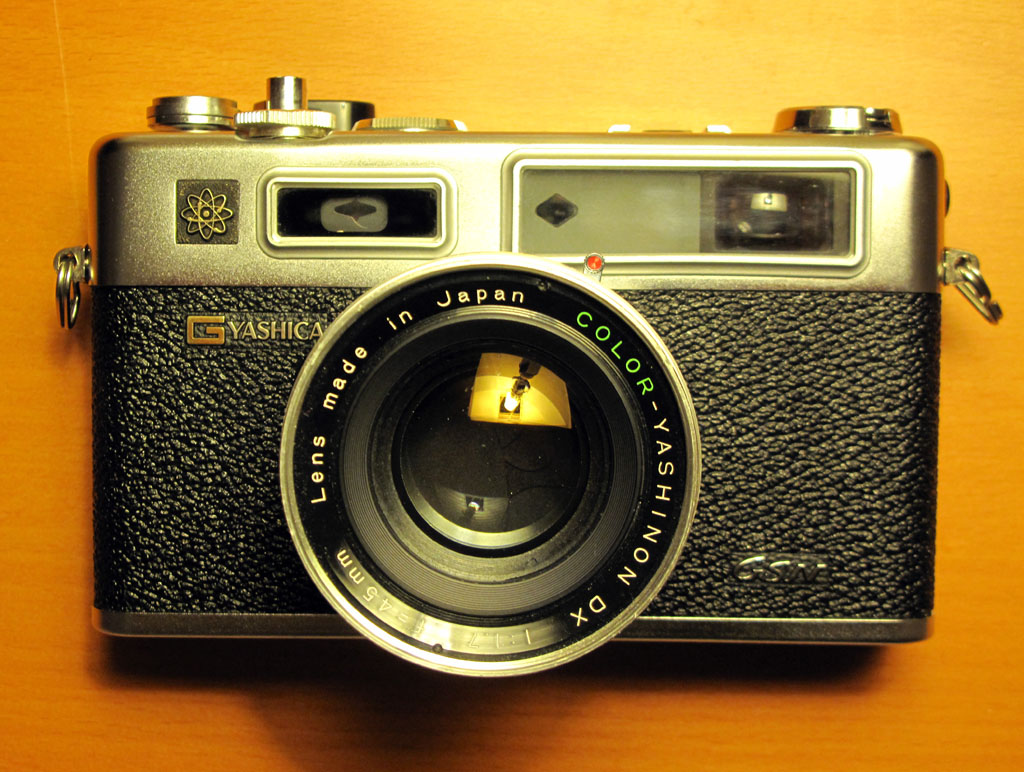
Ages ago I bought a broken Yashica GSN as a parts camera to repair the rangefinder mechanism on my keeper GSN. (You can read about that surgery here)

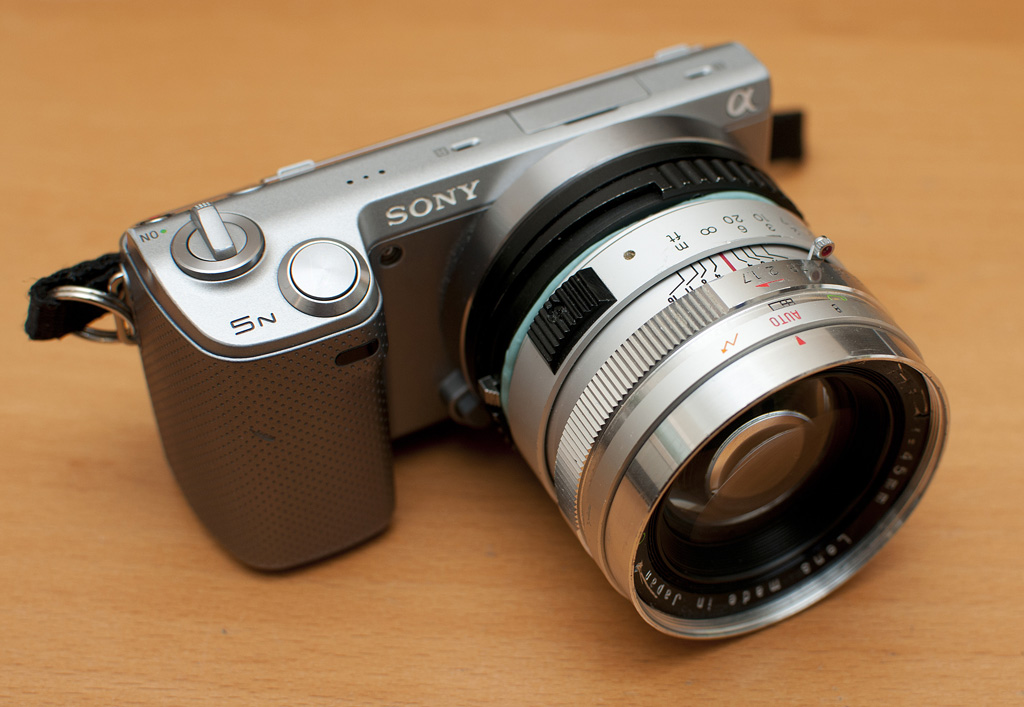
When I cannibalized the parts camera, I took the lens off (probably the only part of that camera which was in decent shape) hoping to one day adapt it for use on a Leica M body or something similar. Well, the lens wound up, like a lot of my projects, kicking around in a drawer for years and just gathering dust. Then the NEX series of cameras came along and with them adapters for every conceivable lens imaginable. Slooowly, eventually, the dim flashbulb in my head went off, I remembered the long forgotten GSN lens and I got to wondering if and how I could pair it with my NEX 5n.

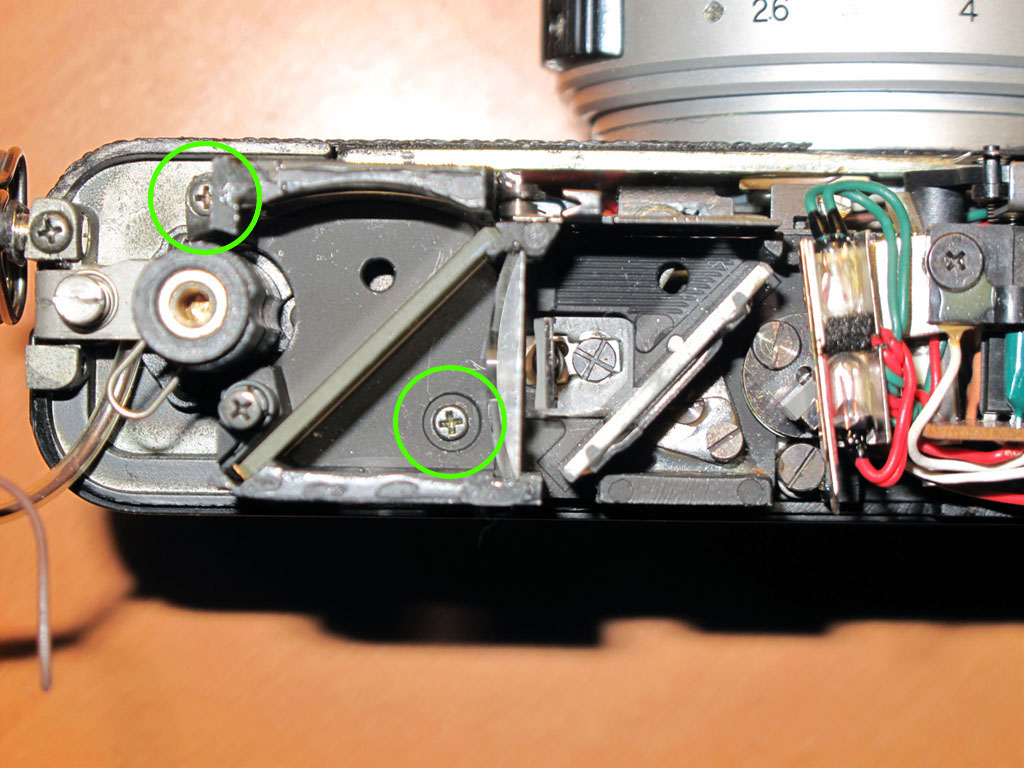
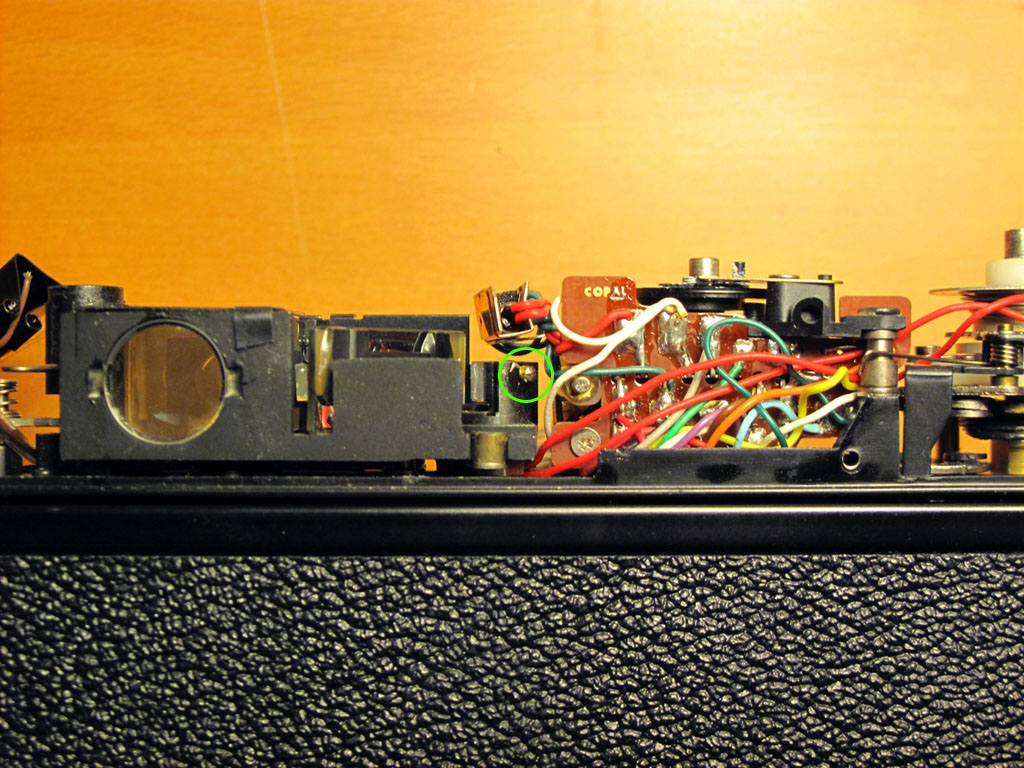
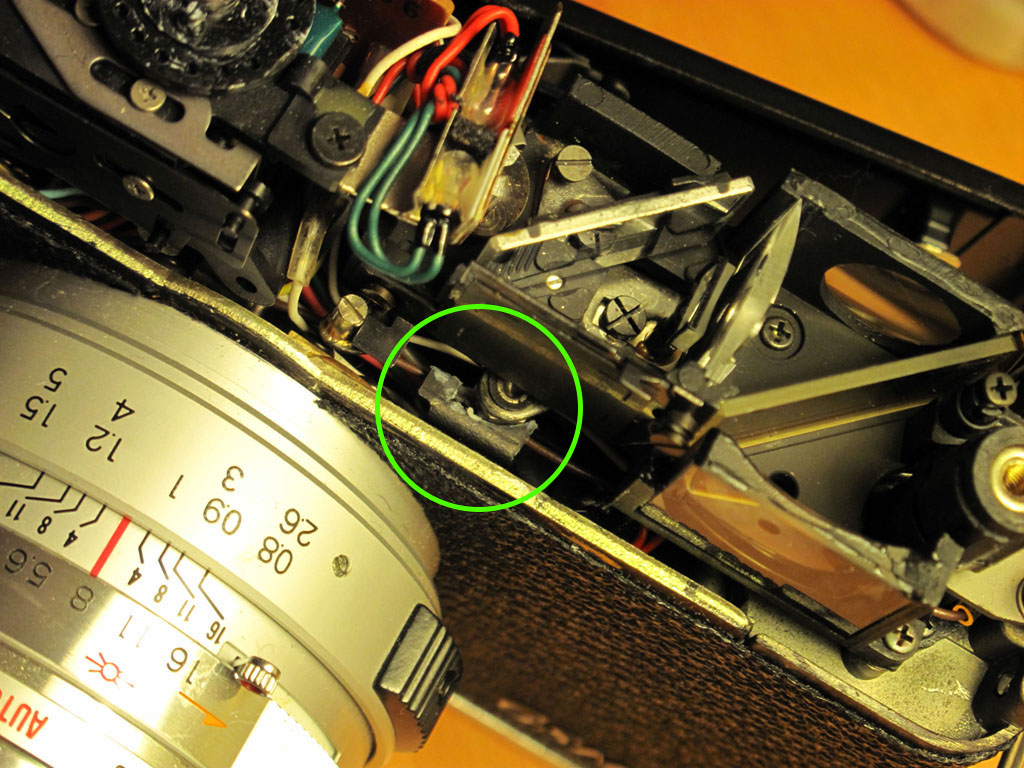
My main issue always came down to how to focus this little beastie. When I had removed the lens from the GSN, along with disabling the shutter and fixing it in the open position, I removed all the of the focusing mechanism and filed down the lens mount flush with the helicoid. (The holes seen were for wires and a metal rod that triggered the shutter inside the lens.)

In hindsight I should have obviously left at least a part of the focusing hardware in place so at this point whatever was going to focus this lens was going to have to be an external thing.

This is where one of my favorite adapters for the NEX series of cameras comes in; Sony E-mount adapters that have a helicoid built in which are meant to allow for close(er) focus with M-mount lenses. These adapters have gotten dramatically cheaper as more Chinese made versions have become available. If you search eBay for “nex helicoid” you will find plenty in the $35-$40 range which is likely the same as the one I have. There is even one that goes for about $18 that can be found by searching for “tinray helicoid”.

At the moment, and as you can see from the photos, this is in the prototype stages, and I am simply using blu-tack to fix the lens to the adapter. I was actually lucky to have removed as much of the focusing mechanism as I did because in this setup with this particular helicoid adapter infinity focus is very close to spot on. It currently focuses just a little bit past infinity, but I plan to shim that when I do the final mounting.

The only tricky bit has been to tripod mount the camera and check the focus in the corners to ensure that the lens is fairly aligned with the sensor. Of course, this being blu-tack, it is as easy to push and prod the lens in to a rough alignment as it is to knock it right back out. :-/

Eventually, I want to get a Hawks v3 helicoid adapter (much better quality!) for use on my a7R. I will then use some JB Weld on this adapter to permanently fix the GSN lens to the helicoid. I’ll update this page when that happens.

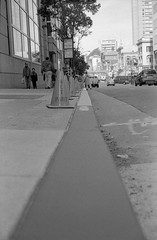
In the meantime, here is a sample shot with the prototype mounted GSN 45mm f/1.7 lens shot at f/5.6 on a Sony NEX 5n (To view the full size 2464×1638 pixel JPG right-click on the image and open it in a new tab.)


Yashica Electro 35 GSN Rangefinder Replacement

My first attempt at finding a working copy of one of these fabulous but mechanically and electronically finicky cameras landed me a fine looking example of electronics that were way beyond repair. Still, the $30 price of admission was well worth the entertainment value of trying to fix it up. 🙂

The second attempt was an eBay buy that was maybe a 9.5 cosmetically and sound mechanically but had one major flaw which made it a pain to use… The rangefinder spot in the viewer that is used to focus was almost non-existent. It had just the barest ghost of an overlapping image which made focusing difficult even on bright days.

Since I had the parts from a whole other camera, (happily the focusing mechanism on the broken GSN was in stellar shape) I decided it was high time to perform a little surgery and build… a Frankie.

You can see in the photo on the right just how bad shape the old rangefinder mechanism was in… The top one was the mechanism I replaced and you can see how the diagonal piece of glass there is nearly transparent. This gold coated piece of glass is basically a beam splitter that superimposes the focusing area on the view through the lens. With the coating nearly gone as in the top photo, very little was being reflected and consequently the focusing area had pretty much disappeared.

There are other sites with instructions on disassembly of the GSN so I won’t go too much in to that here. This photo shows the camera with the top-plate already removed and the rangefinder mechanism exposed. The screws circled in green hold the whole unit in place and are all that need to be removed. When removing it, lift out the left side first (where the film rewind crank is) and be careful of the Over / Under lights and other electronics on the right.

When replacing the rangefinder mechanism, tuck the right side under the electronics and it should just drop in to place. Don’t screw it down yet, as you will need to make sure the focusing lever is set in the lens tab in the next step. Note the location of the vertical focus adjustment screw circled in the photo on the right.

This photo shows the metal tab that keeps the lens indexed with the rangefinder mechanism. Underneath the rangefinder mechanism is a focusing lever that moves the mirror assembly back and forth. This lever needs to rest in a tab that is attached to the lens. (Both are circled in the picture.) Once this is set, move the lens from close to far focus and back a few times to make sure no wiries are obstucting the movement or worse, getting pinched somehwhere in the process.After this step, you can screw the rangefinder mechanism in place and proceed with the final adjustments.

The final and most complicated step is adjusting focus so the lens is in register with the rangefinder mechanism. The method I found easiest was to set the lens to infinity and then adjust the rangefinder to that.

To adjust the rangefinder, there are 2 screws that control horizontal and vertical registration of the focusing square. The photo on the right shows the location of the horizonal 45° adjustment screw. [It was pointed out to me (thanks Alfredo!) that the horizontal adjustment is the cross-like screw located next to the moveable rangefinder lens, labelled as “infinity adjustment” on page 36 of the GSN service manual.] The vertical adjustment screw is shown two photos back. I was lucky and actually didn’t have to touch the verical registration at all.

Mount the camera on a tripod and point the it at a distant object. I actually found it easier to do this step at night with the camera trained on a street light in the distance. Set the lens to infinity marking – it should be right against the stop and not go any further. When you look through the viewfinder you’ll see whatever object you’ve trained on is “out of focus.” Just adjust the horizontal (and verical if needed) until the images register exactly. Go back and verify that the lens is still set to infinity and check focus again.

Before putting a roll of film in the camera I wanted to be reasonably sure that focus was good.

To do so, I used an old roll of film that I accidentally fixed but didn’t develop (Oops! A couple of pieces of electrical tape would have worked just as well though…) to hold in place a square of material I cut from a soft CD sleeve.

I like the CD sleeve material for this as it is cheap, lint-free and the thinness and perforations make it easy to tell where focus is. A good alternative would be tracing or rice paper but this is what I had on hand and it worked well for me. Basically, the thinner the better…

Here you can see what it looks like focusing on a desk-lamp at closest-focus on the GSN which is about 80 cm (or 2.5 ft). Looking through the viewfinder and looking at the back of the camera, the focus seemed to match well and focusing at a distant street light with the lens set to infinity showed an equally sharp image.

This is not meant to be a definitive test of focus, just a quick preview before putting everything back together in case something is really off… A true test of focus can only really come from a test roll. (At least with the gear I have on hand!)

This should be it! To keep focus from slipping, brush some clear nail polish on the adjustment screws and let it dry before assembling the camera.

The surgery worked! My GSN is still in focus and the “new” focusing mechanisim is an astounding improvement.

When putting the camera back together I used the newest looking bits from both and now the camera looks great along with working great.

It’s also nice to know I have parts to replace nearly anything on this camera should anything else ever break…

Here are a few links to sites and manuals that were very helpful in figuring all this stuff out:


Here are a couple of shots from my GSN set on flicker:

House of Shields

wet paint


Copyright © 1996-2010 astroturtle. All rights reserved.
Jarrah theme by Templates Next | Powered by WordPress